Restore RengeOS (Recovery Mode)
-
Essentially, the
ros-reborntool allows users to reset their system to its original state (as when it was first installed) without having to reinstall using a Live ISO with a USB drive as is the usual method. -
So we will use
ros-reborn(TUI) to automate the RengeOS restore process to its original state using theunsquashfsmethod and some other related techniques during the process.
Boot into Recovery Mode
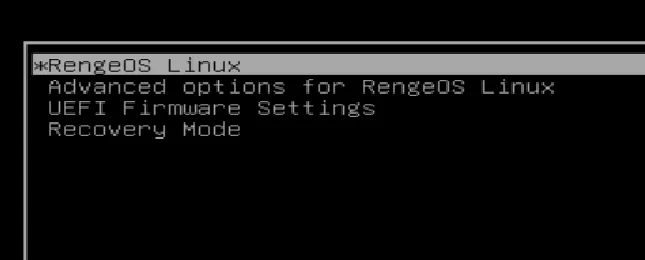
Section titled “Boot into Recovery Mode”- After booting up your device, at the bottom of the GRUB menu you will see an option called
Recovery Mode. Select it and boot into it before proceeding withros-reborn.
Start the process
Section titled “Start the process”- After booting into
Recovery Modefrom theGRUBmenu option, we will log in as root using the password you set for root during the previous RengeOS installation.
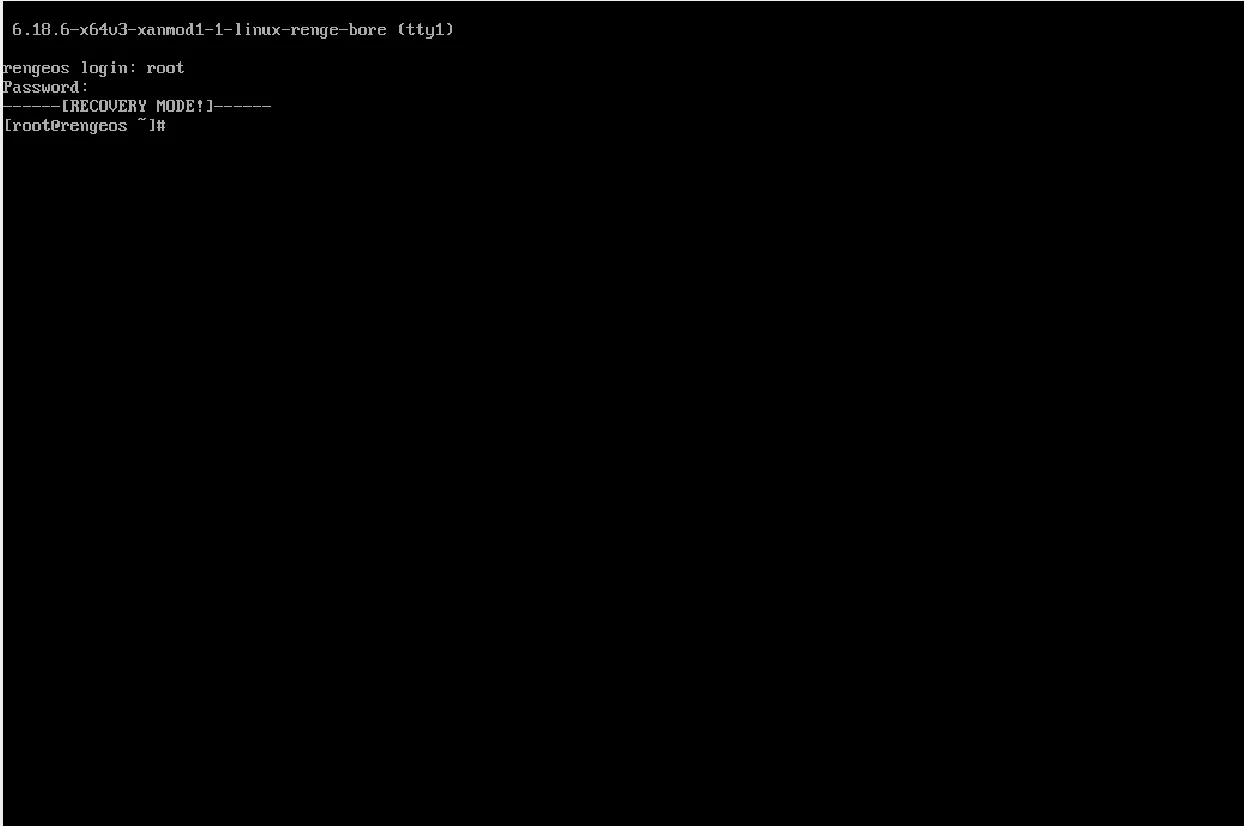
- Next, we will proceed with the factory reset process using
ros-reborn.
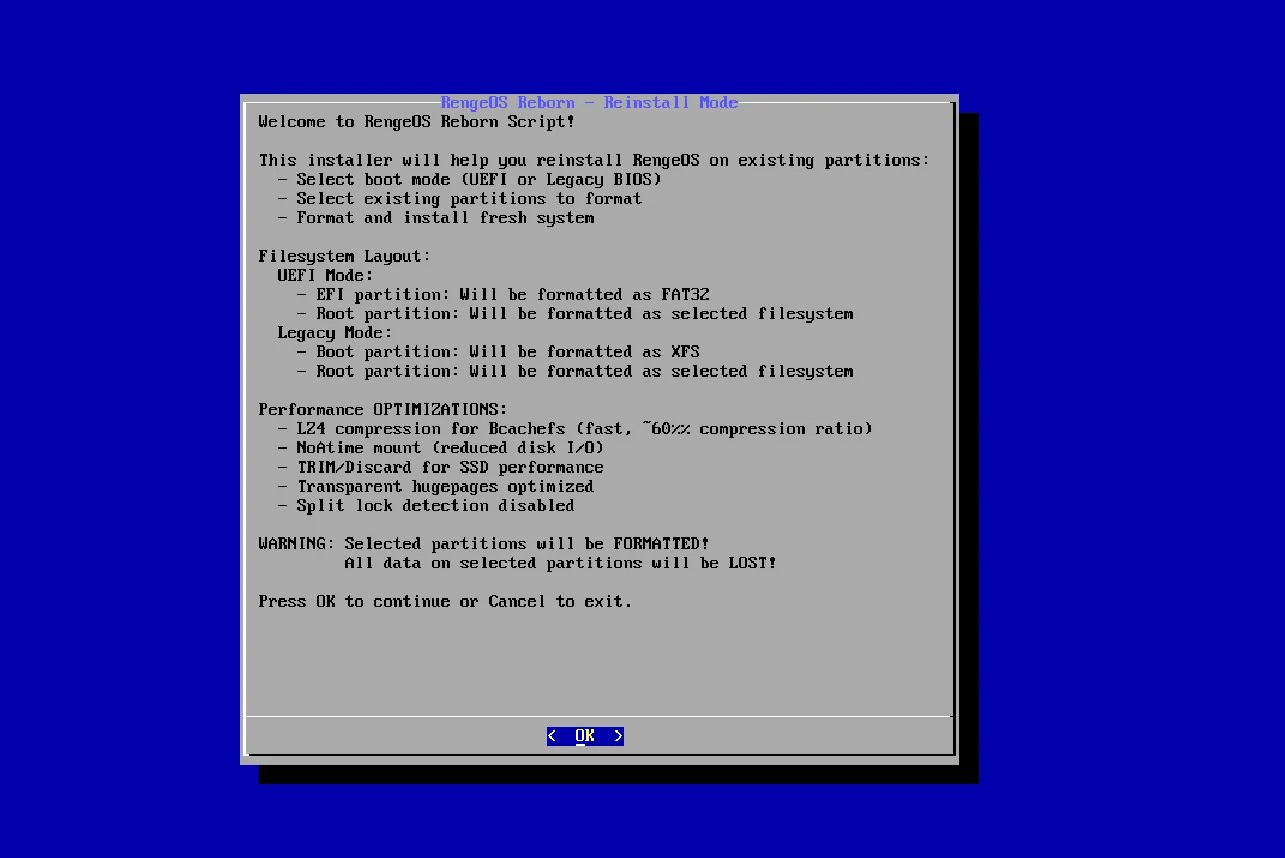
ros-reborn- You will immediately see this TUI appear and that is the
ros-reborntool.
Boot mode
Section titled “Boot mode”-
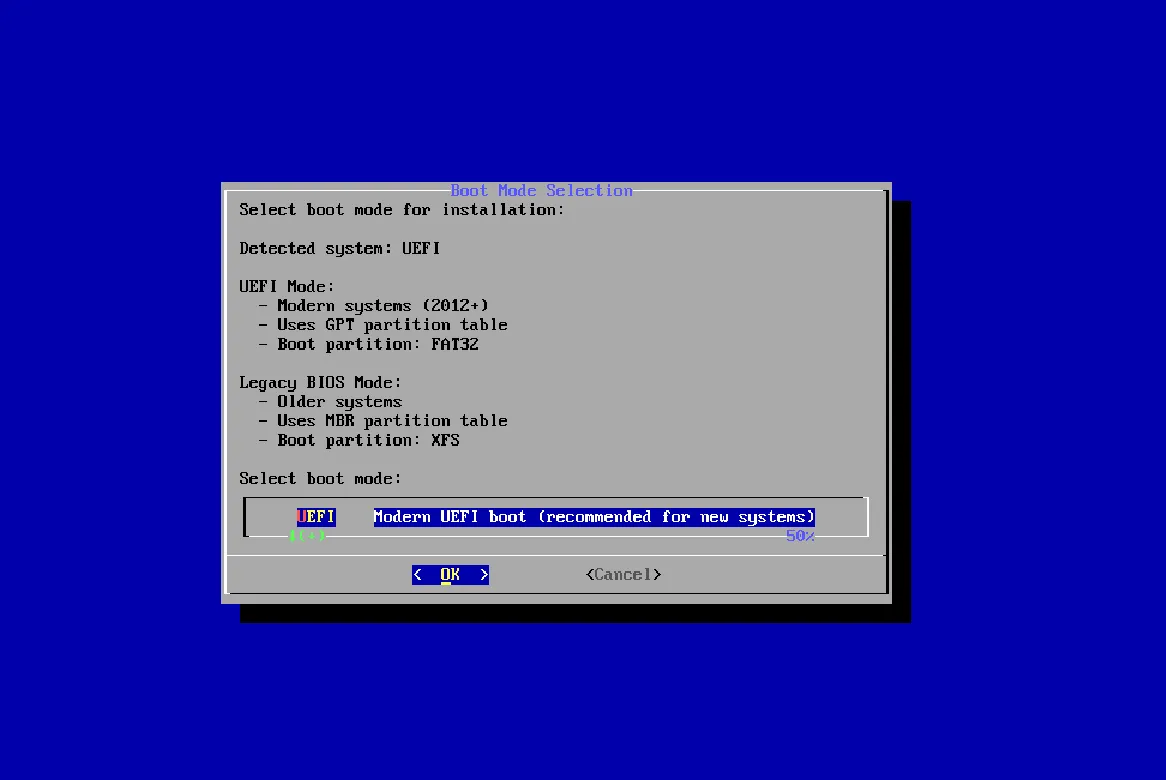
Now we have two options:
UEFIandLegacy BIOS. -
Make sure you know what your boot mode is. If not, check your
BIOS. Also, ensure you don’t haveHybrid Modeenabled. -
Here I will choose
UEFIbecause my machine is currently using that boot mode.
Select partitions
Section titled “Select partitions”EFI(boot) and Root paritions
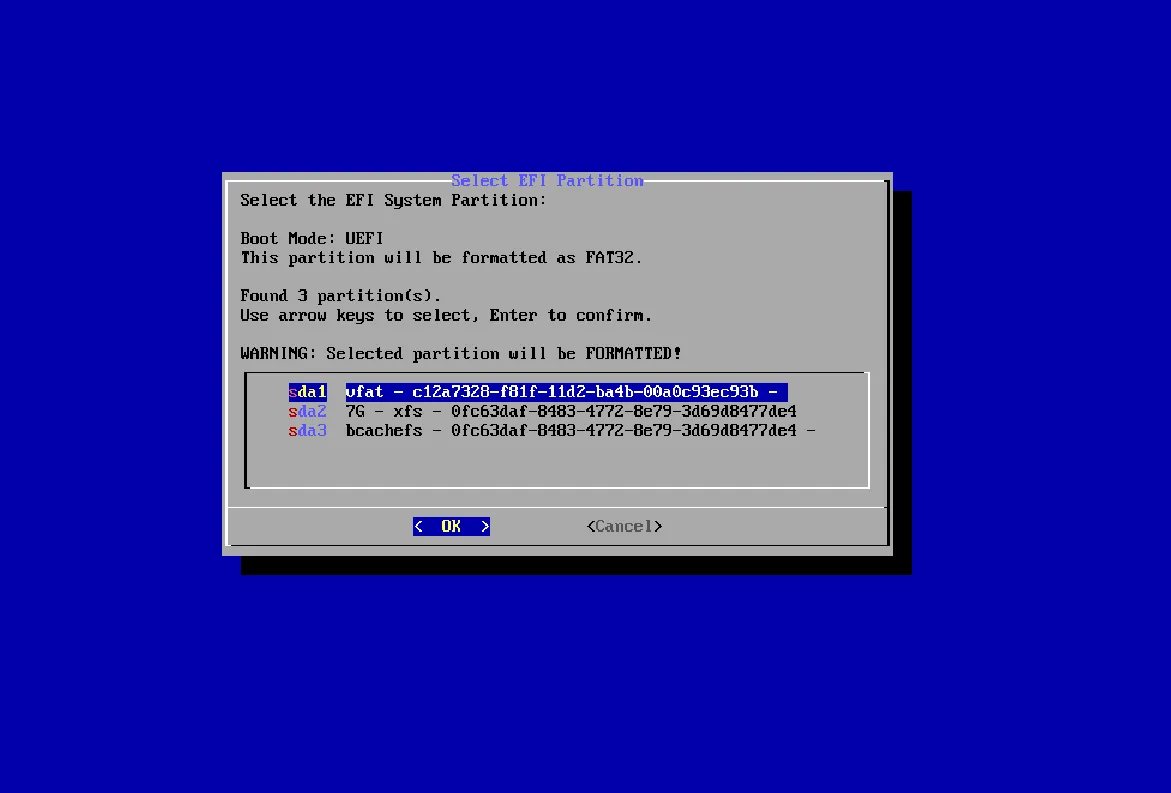
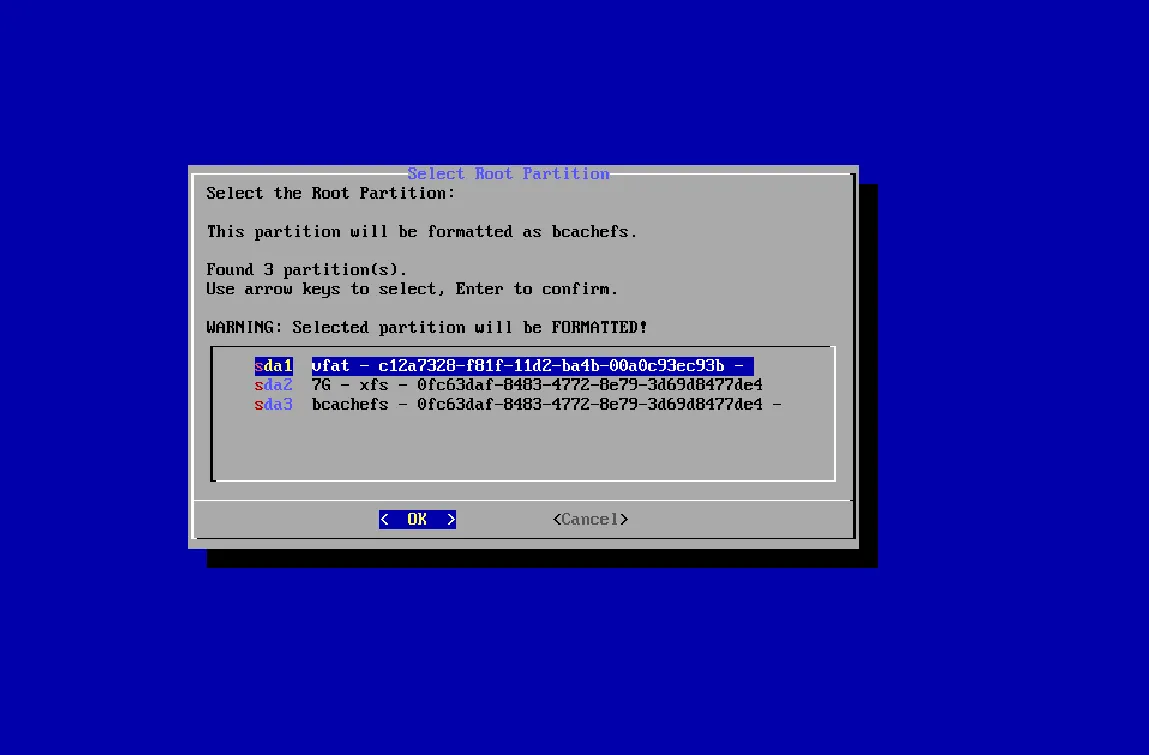
Section titled “EFI(boot) and Root paritions”- After selecting the boot mode, the next step is to choose the partitions in the following order:
- EFI partition (Legacy BIOS is similar) -> Root partition -> Recovery Partition
- First, we need to select the EFI (boot) partition and the root partition.
- Here, the EFI (boot) partition will be
sda1and the root partition will besda3.
 |  |
|---|
Recovery parition
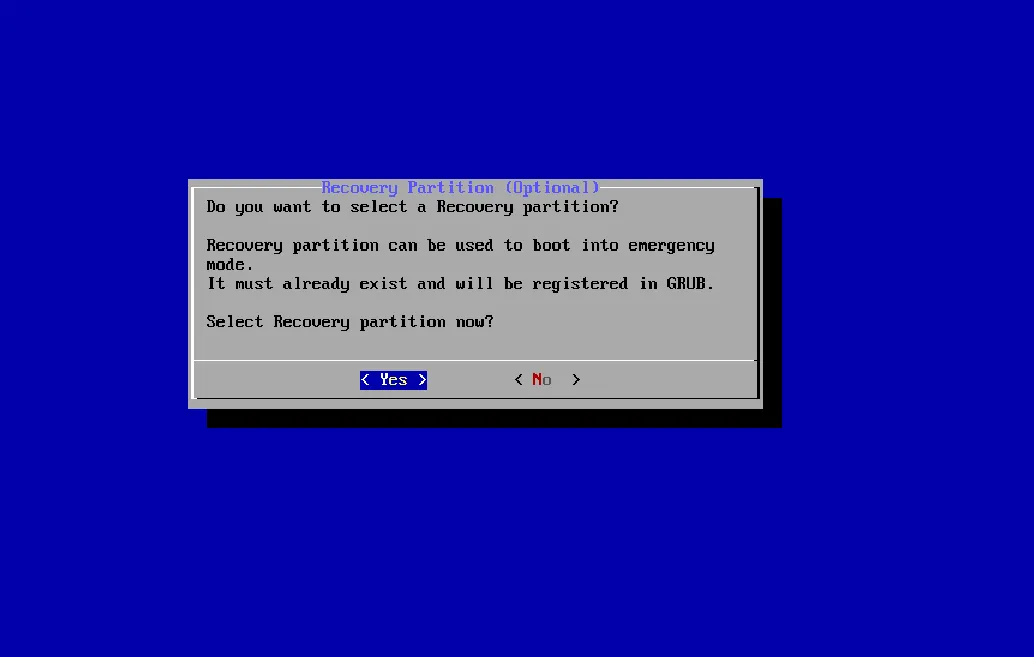
Section titled “Recovery parition”- After selecting the two partitions like above, you will be asked if you want to choose a partition for
Recovery Mode.
- Here I have
Recovery Modeenabled and I will select thesda2partition as theRecovery Modepartition.
 |  |
|---|
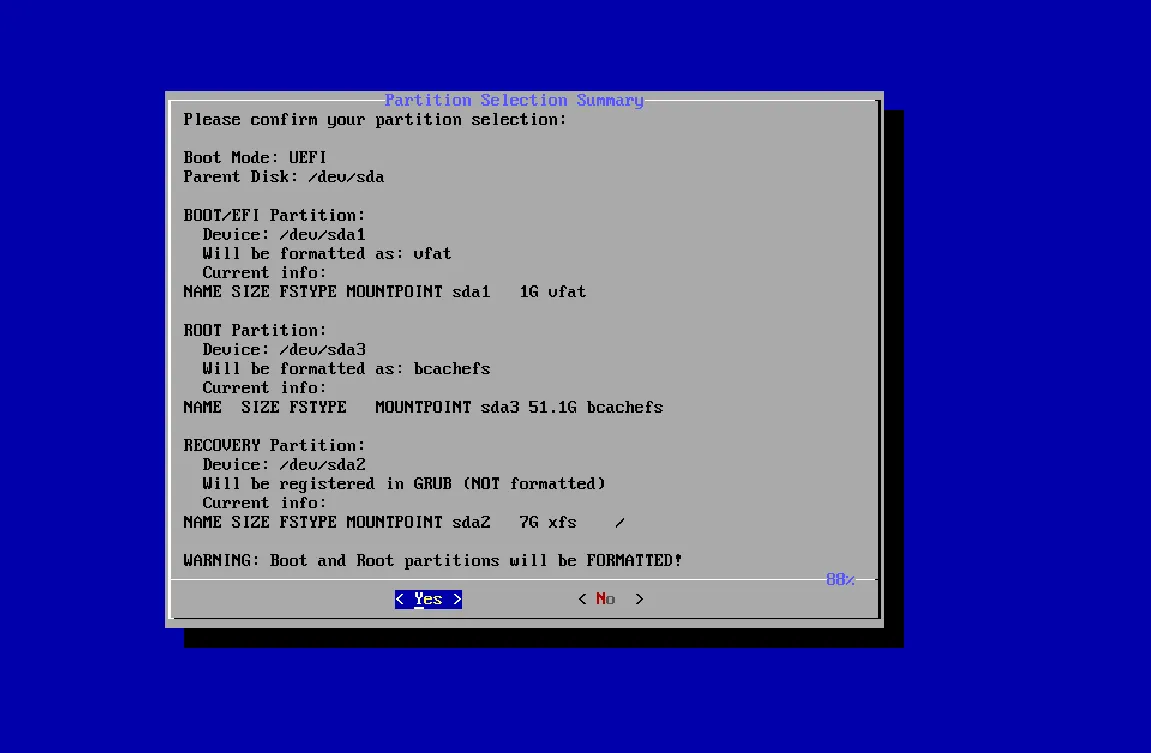
Summary
Section titled “Summary”- After we’ve defined the partitions, we’ll review them to ensure everything is correct.
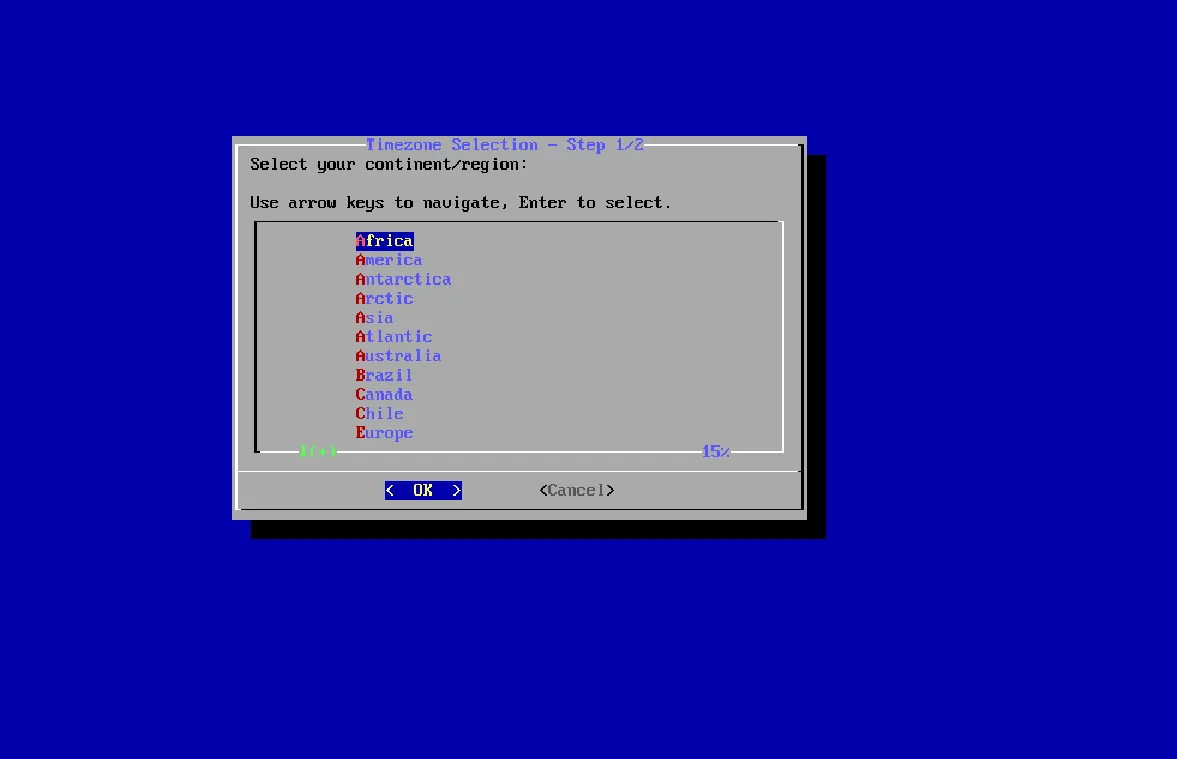
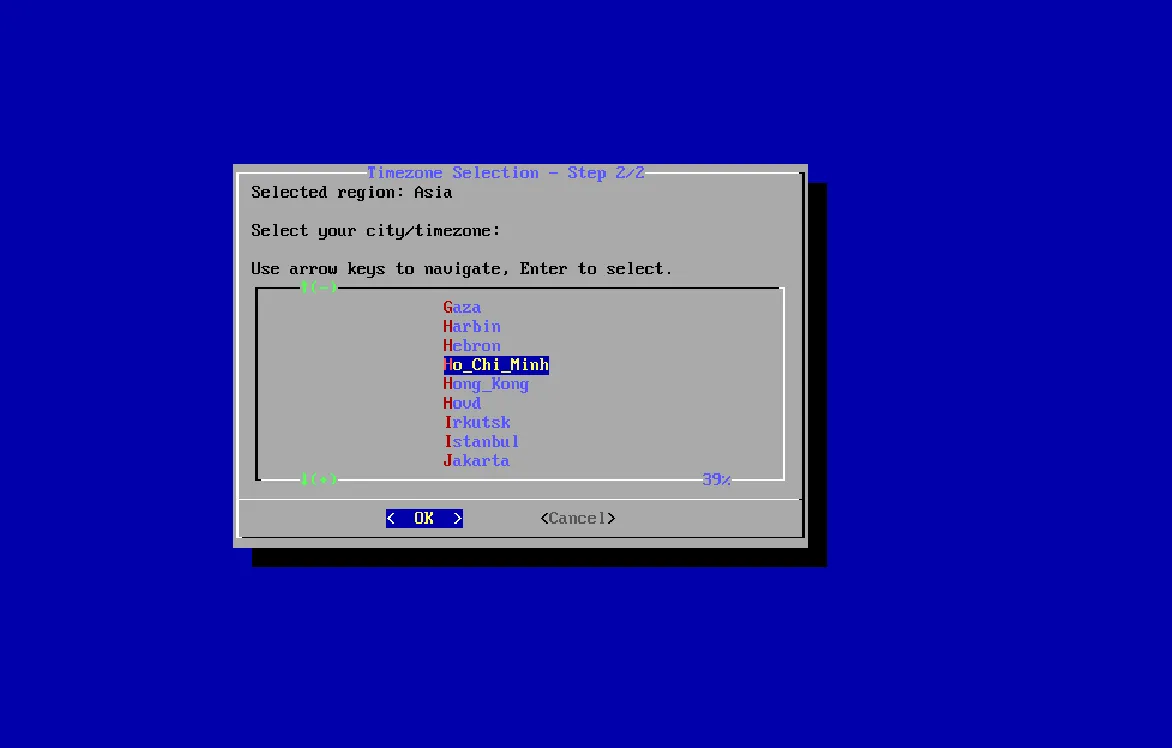
Timezone and System locale
Section titled “Timezone and System locale”- Now we need to select the time region, here, I’ve chosen
Asia/Ho_Chi_Minhbecause I live there
 |  |
|---|
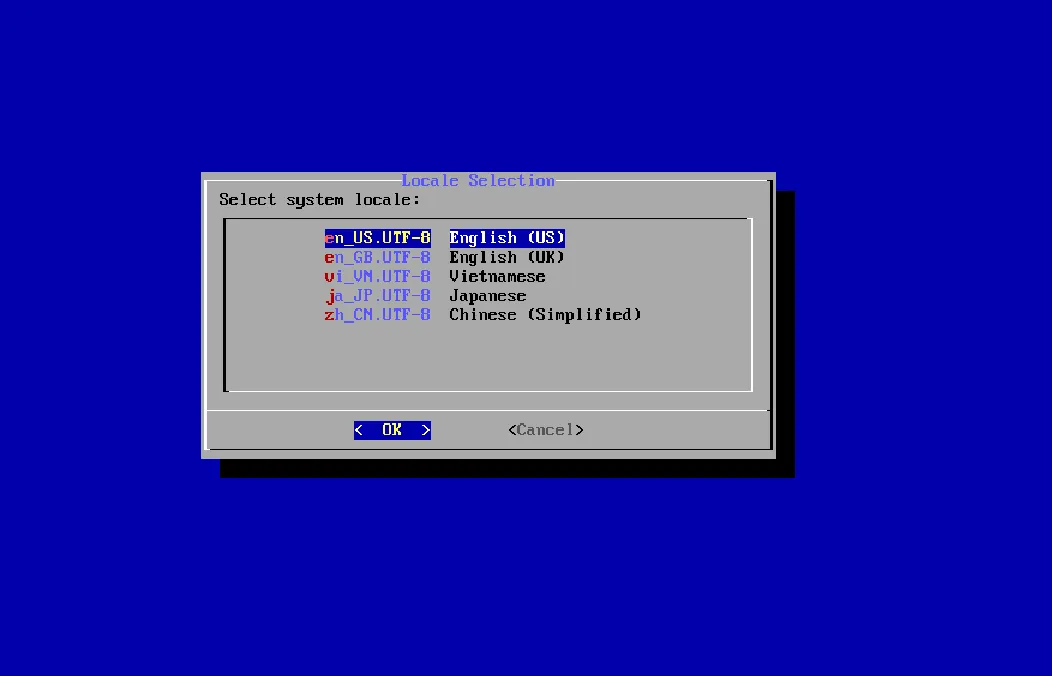
- After selecting your region, the next step is to choose your system locale.
- If you’re unsure what to choose, just select
English (US)as it’s the default standard on most other distributions, and I chose it too.
System configuration
Section titled “System configuration”- Now it will ask you for your computer’s hostname, so enter the name you want.
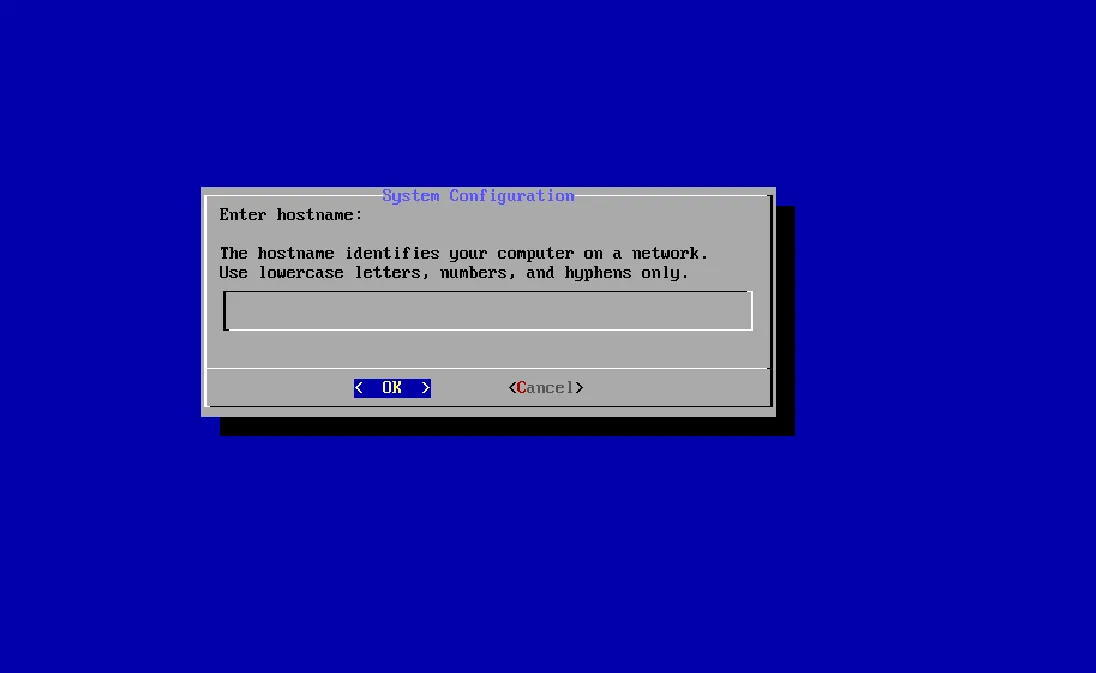
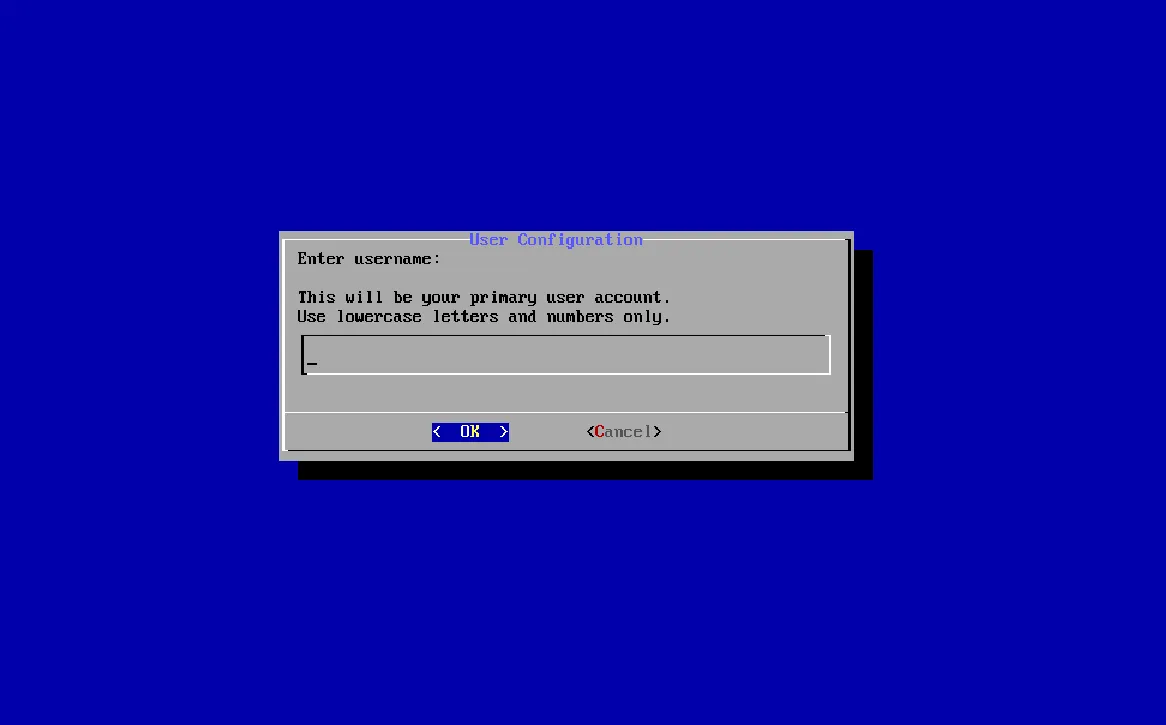
After completing that, the next step is to provide the user’s username.
Configure passwords for Root and User
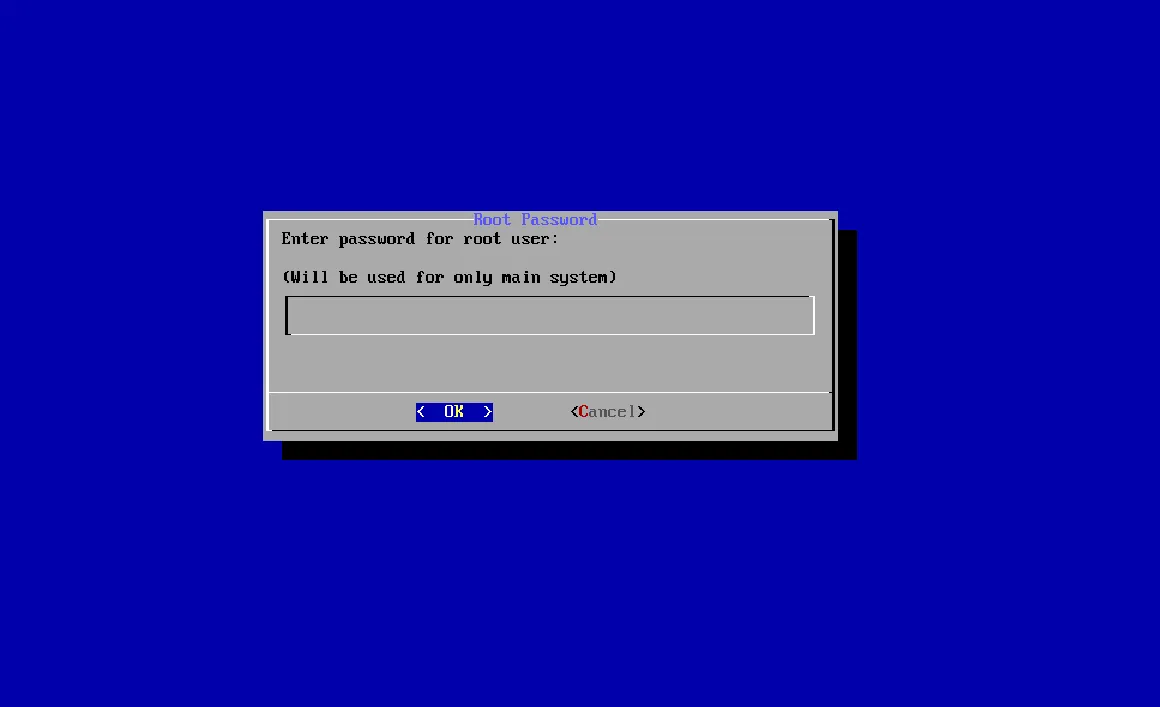
Section titled “Configure passwords for Root and User”- After that, we will move on to configuring passwords for
rootanduseraccounts.
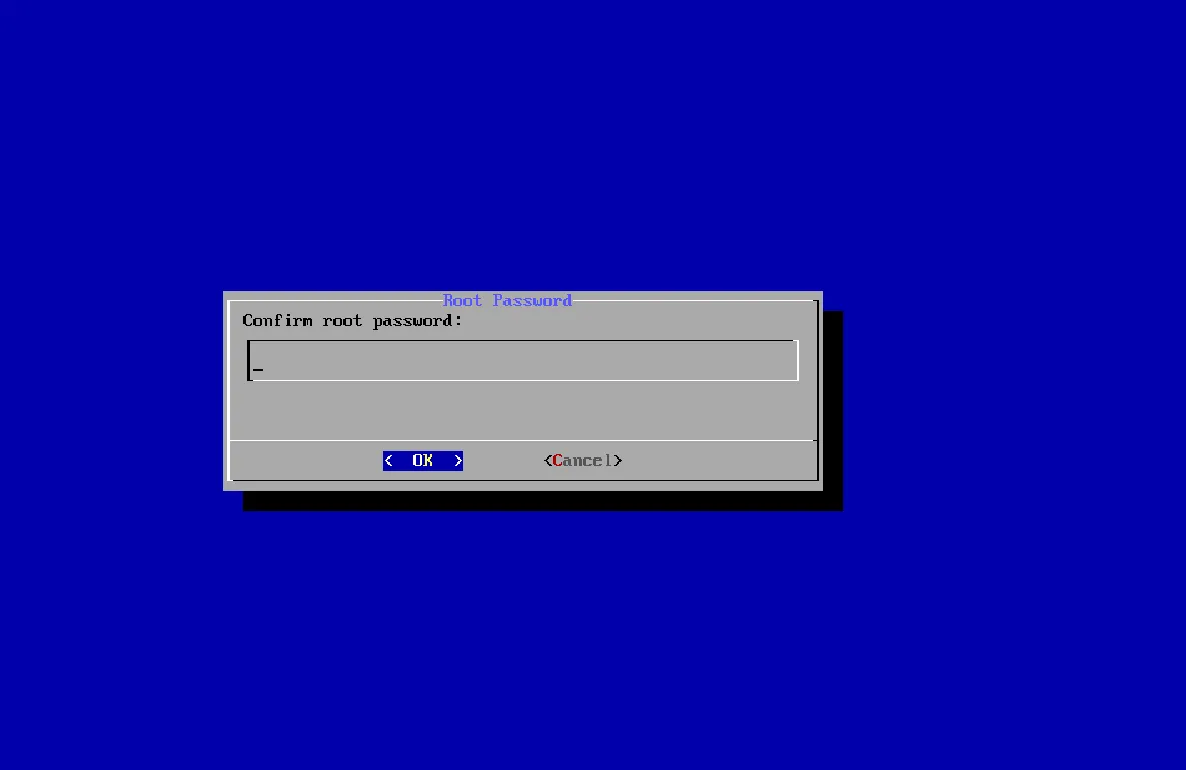
- And now we’ll begin with setting up the
rootpassword.
 |  |
|---|
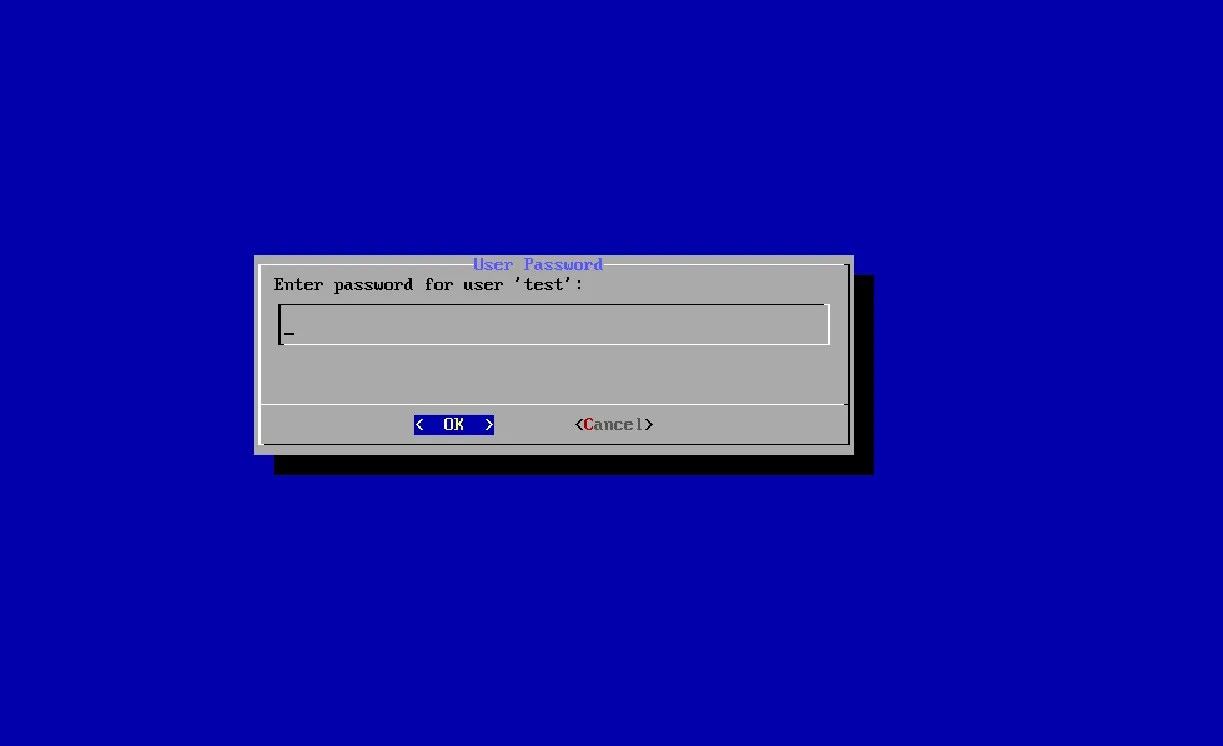
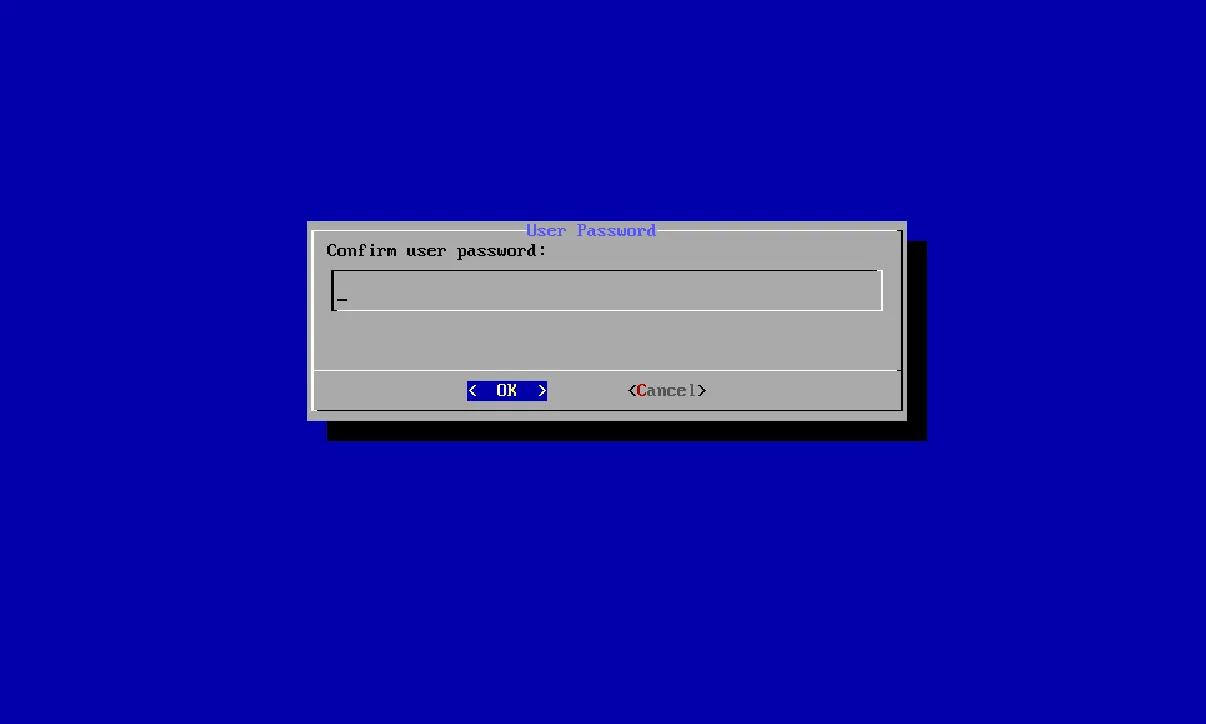
- Once we’ve set up the root password, we’ll move on to setting up passwords for the
useraccounts.
 |  |
|---|
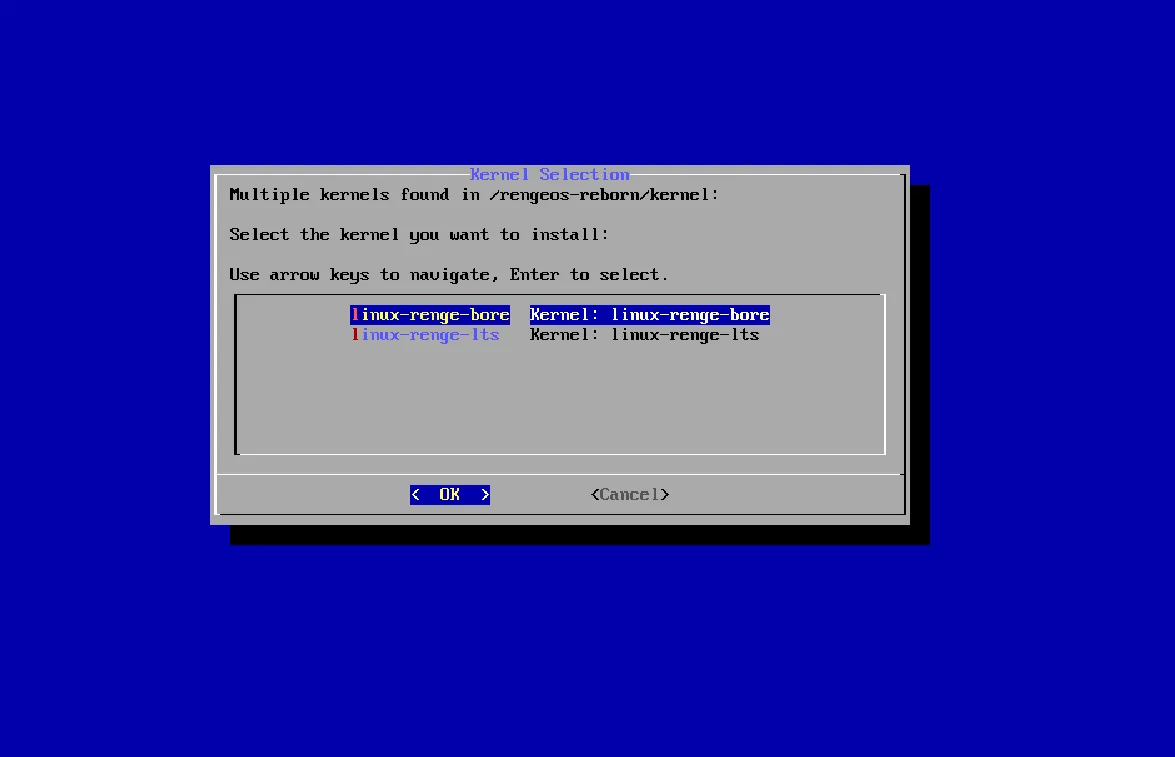
Kernel selection
Section titled “Kernel selection”- The next step is to select the kernel that will be installed and used as the default.
-
linux-renge-boreis the latest kernel based on the Xanmod Kernel and BORE Schedule, with O3 optimization and other features that make laptops/desktops/gaming significantly smoother, reducing lag and stutter during heavy background tasks. However, it is not optimized for long-term workloads or servers. -
linux-renge-ltsis also the latest kernel (in terms of official Linux kernel versions for LTS) based on the Xanmod Kernel, built with O3 optimization. It excels in smoothness, low latency, and better laptops/desktop/gaming performance than the regular kernel, but maintains long-term stability and is less optimized thanlinux-renge-bore.
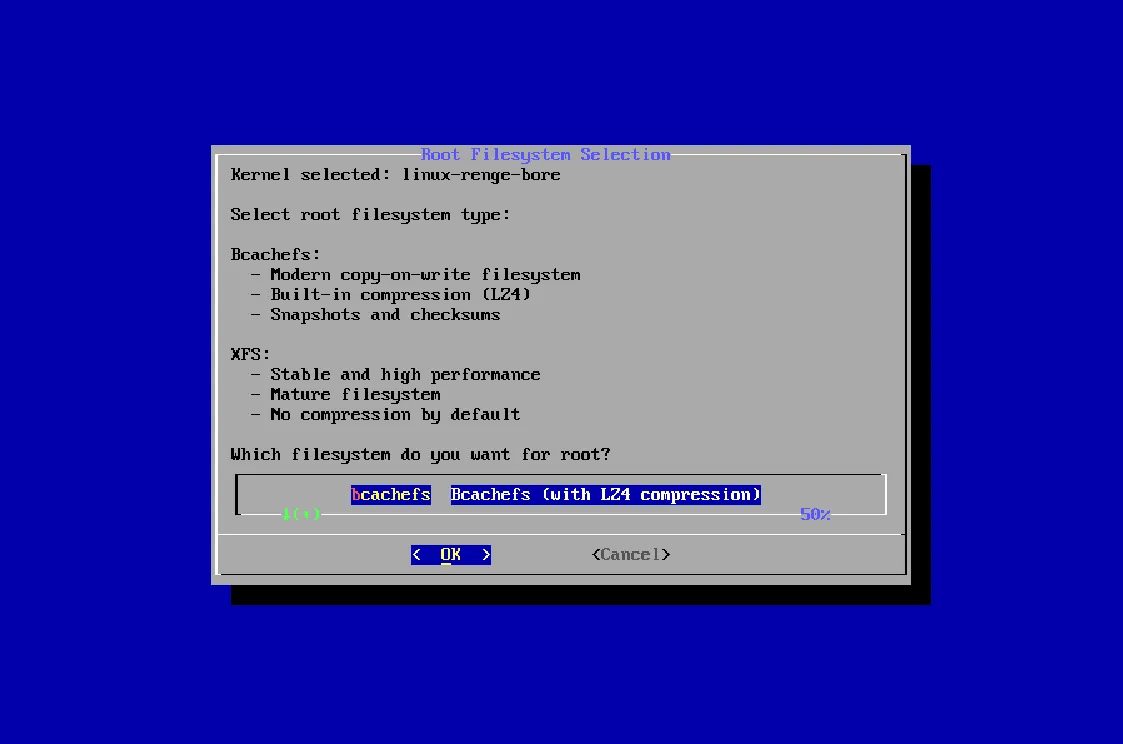
Filesystem
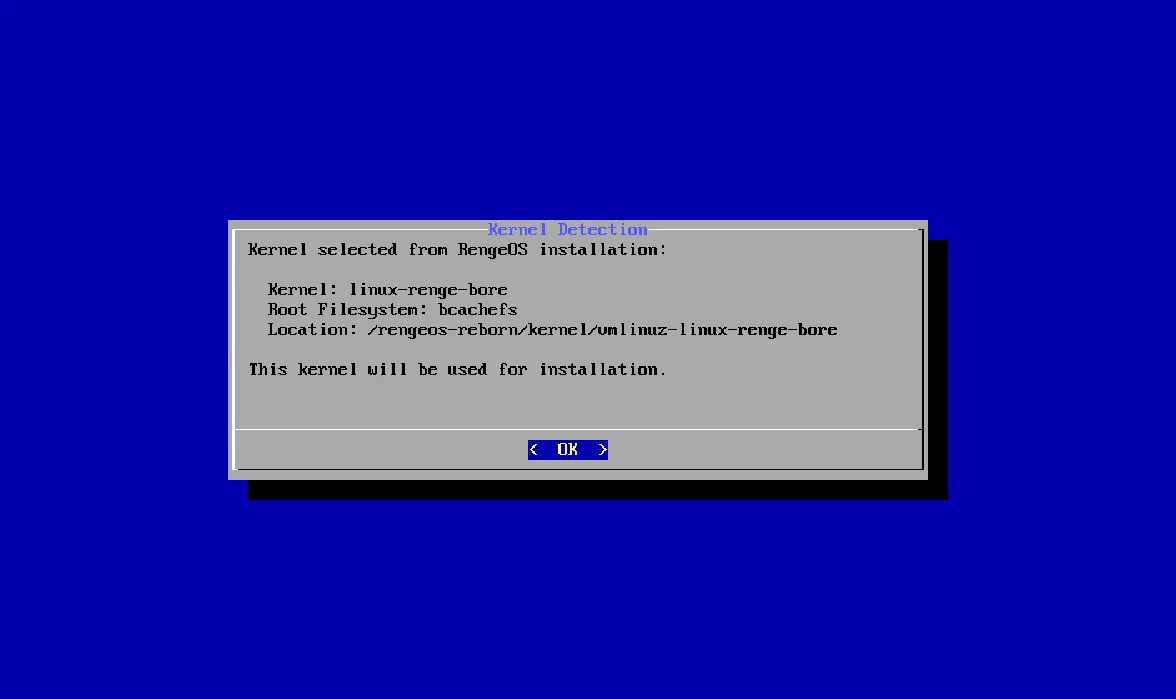
Section titled “Filesystem”- After selecting your desired kernel, you will see something like this (for the
linux-renge-boreoption). - If we selected
linux-renge-lts, only the xfs filesystem option will be displayed because it doesn’t support bcachefs filesystem. - Anyway, that’s your decision, but I still recommend choosing bcachefs filesystem if possible because RengeOS currently has strong support for it.
 |  |
|---|
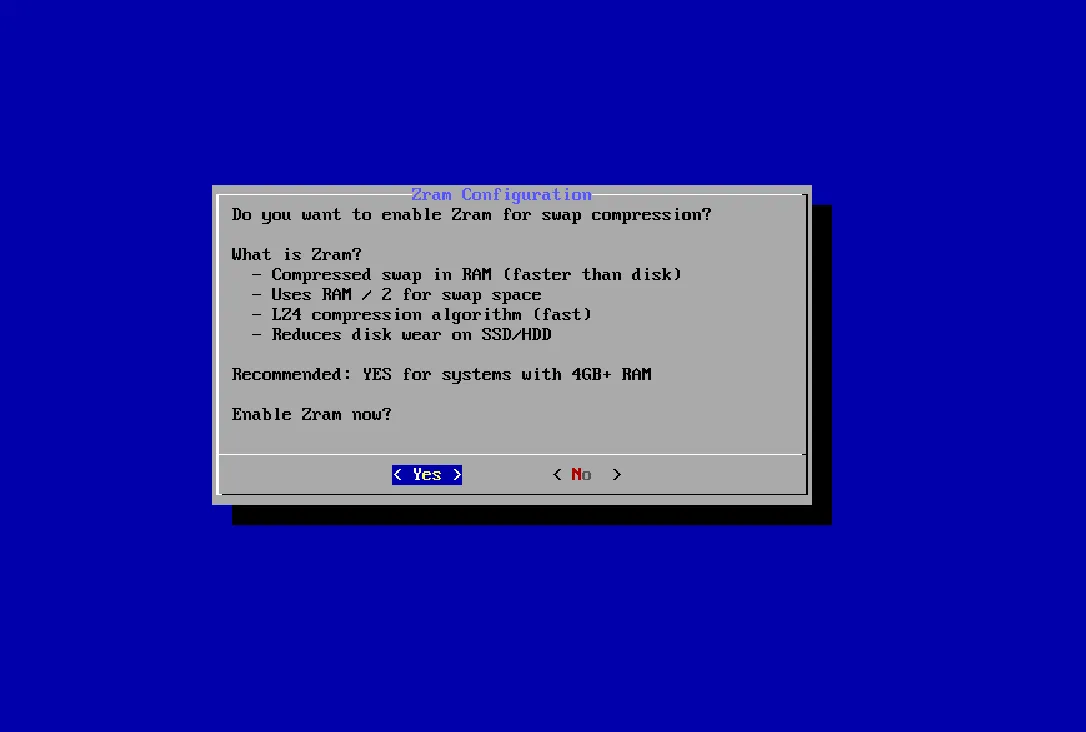
Configure Zram (Virtual RAM)
Section titled “Configure Zram (Virtual RAM)”- After successfully completing filesystem selection configuration process, the next step is to choose whether or not to enable Zram.
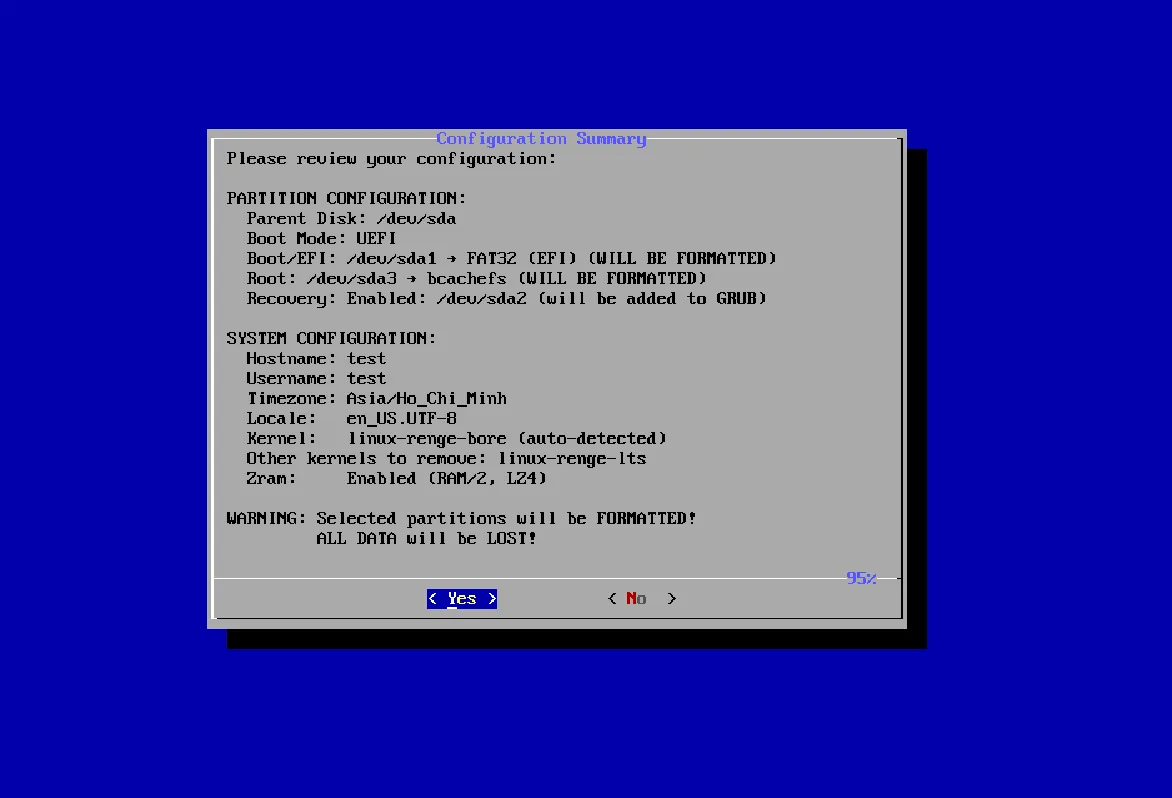
Check before the installation process begins
Section titled “Check before the installation process begins”- Now we need to review and confirm whether it has met expectations.
- If you’re okay with it, you can select Yes. Otherwise, select No, and you can start the process again.
 |  |
|---|
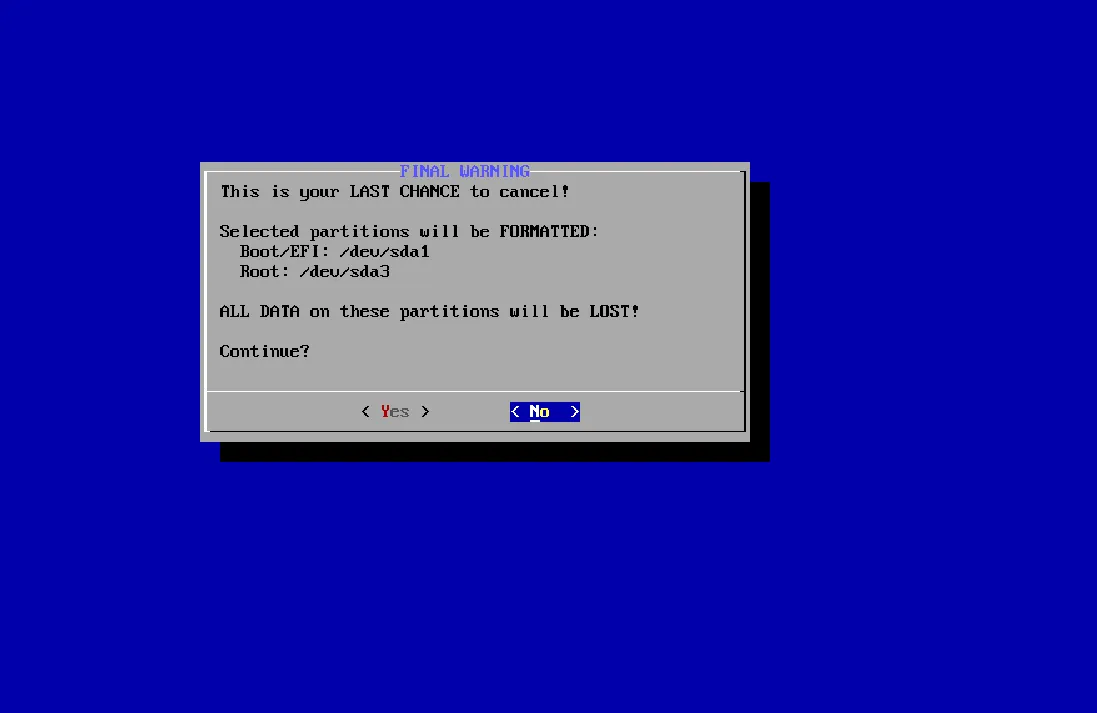
- The process will then continue according to the previously configured settings.
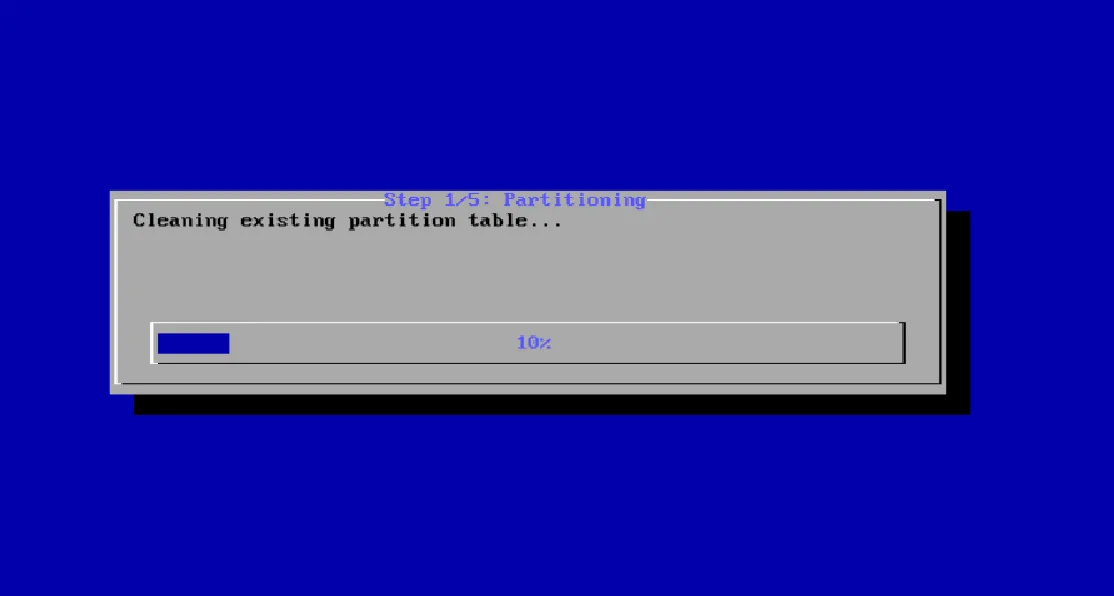
Wait for the installation process to complete
Section titled “Wait for the installation process to complete”- Now you can make yourself a hot cup of coffee and wait until everything is finished, and you will reach the completion menu.
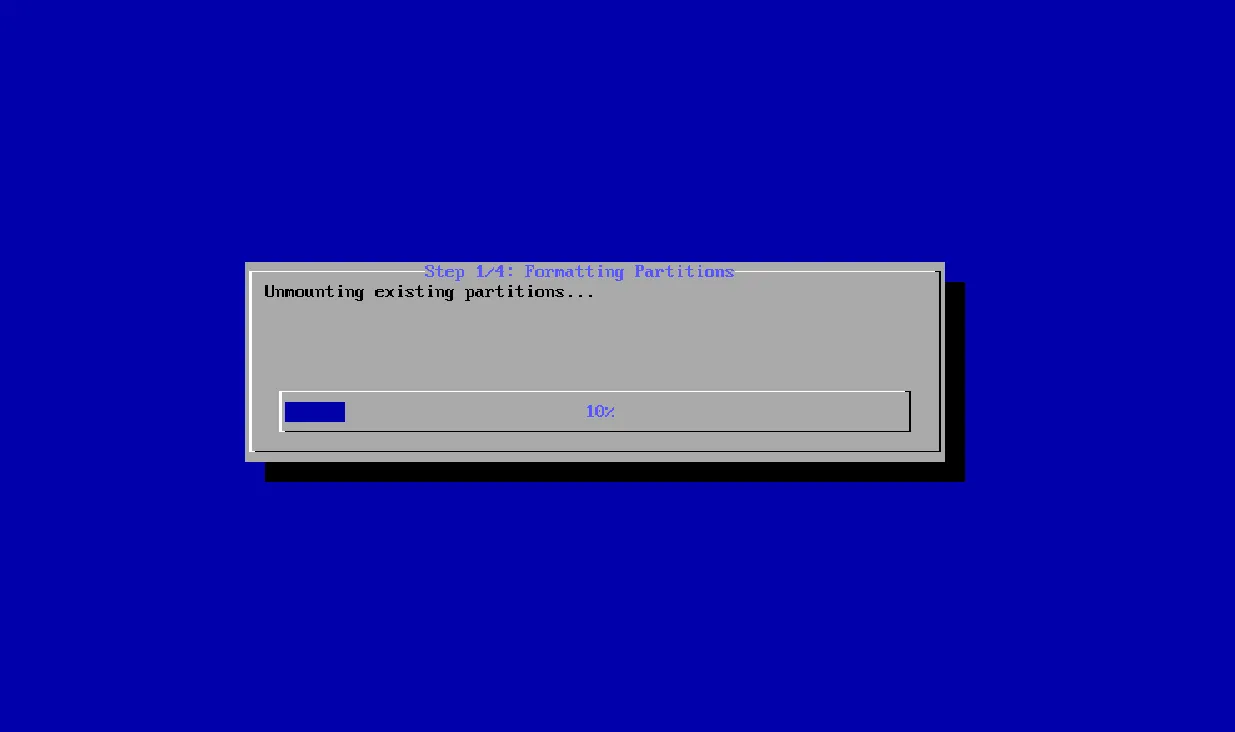 | 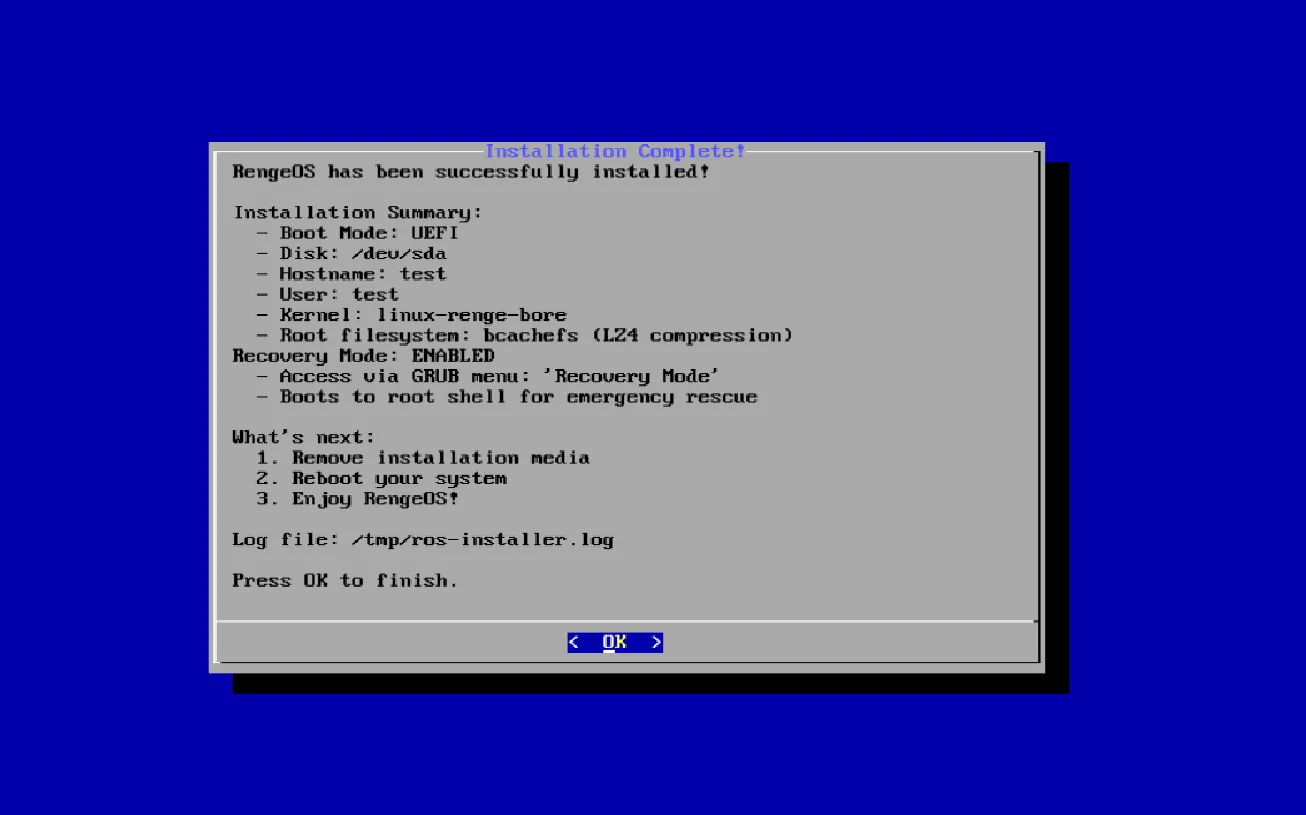 |
|---|
- Congratulations! You have successfully restored RengeOS to factory settings with ros-reborn without needing a USB or Live ISO, Yay!! 🎉 🎉