NiriWM ISO Installation
Essentially, we’ll use ros-installer to automate the installation process from a Live ISO to the machine using the unsquashfs method and some other related techniques during the process.
- This is what it will look like:
Boot into Live ISO
Section titled “Boot into Live ISO”-
First, we need to plug in the bootable USB drive containing the ISO file. Then, depending on your computer’s hardware manufacturer, access the boot menu and boot from that USB drive.
-
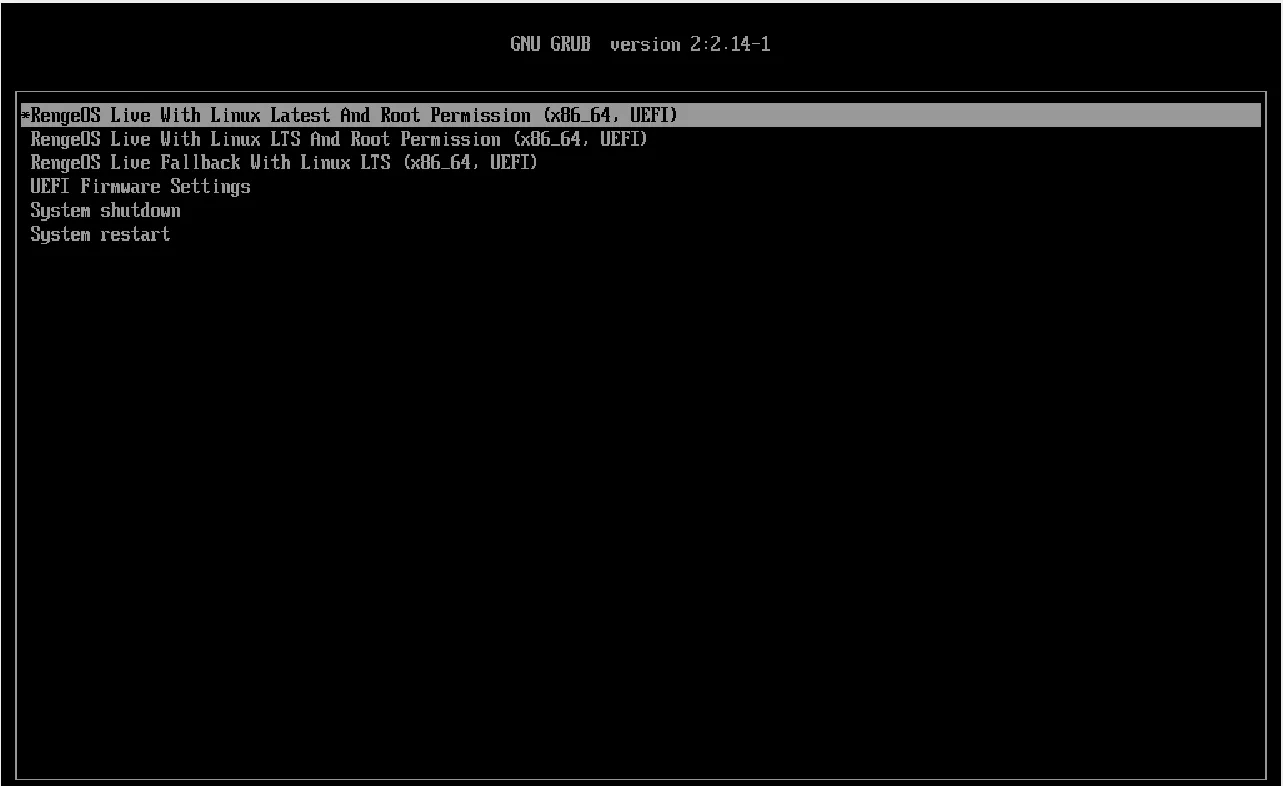
Then you will see the boot menu will look like this (UEFI). For Legacy BIOS, it will display similarly but with a slightly different interface.
Start the installation process
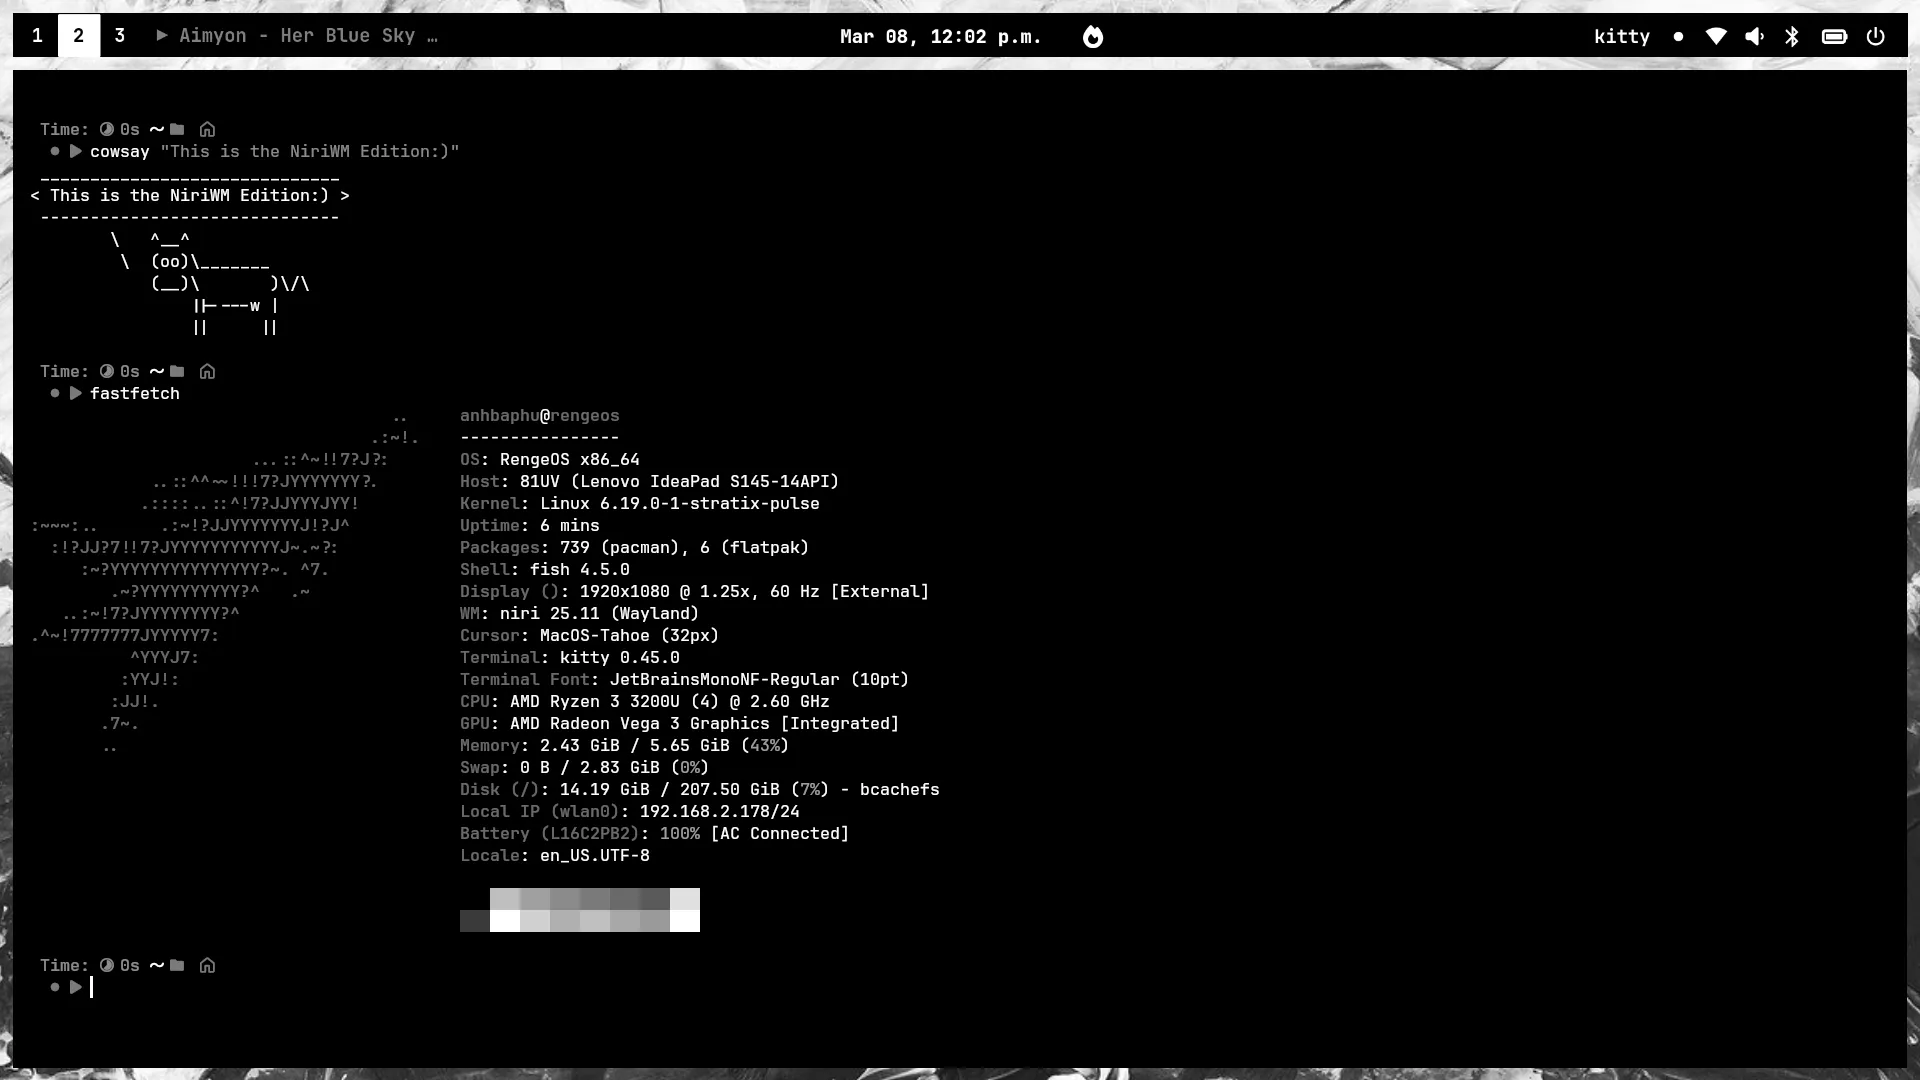
Section titled “Start the installation process”- After the systemd process is complete, you will see a screen like this and it is NiriWM
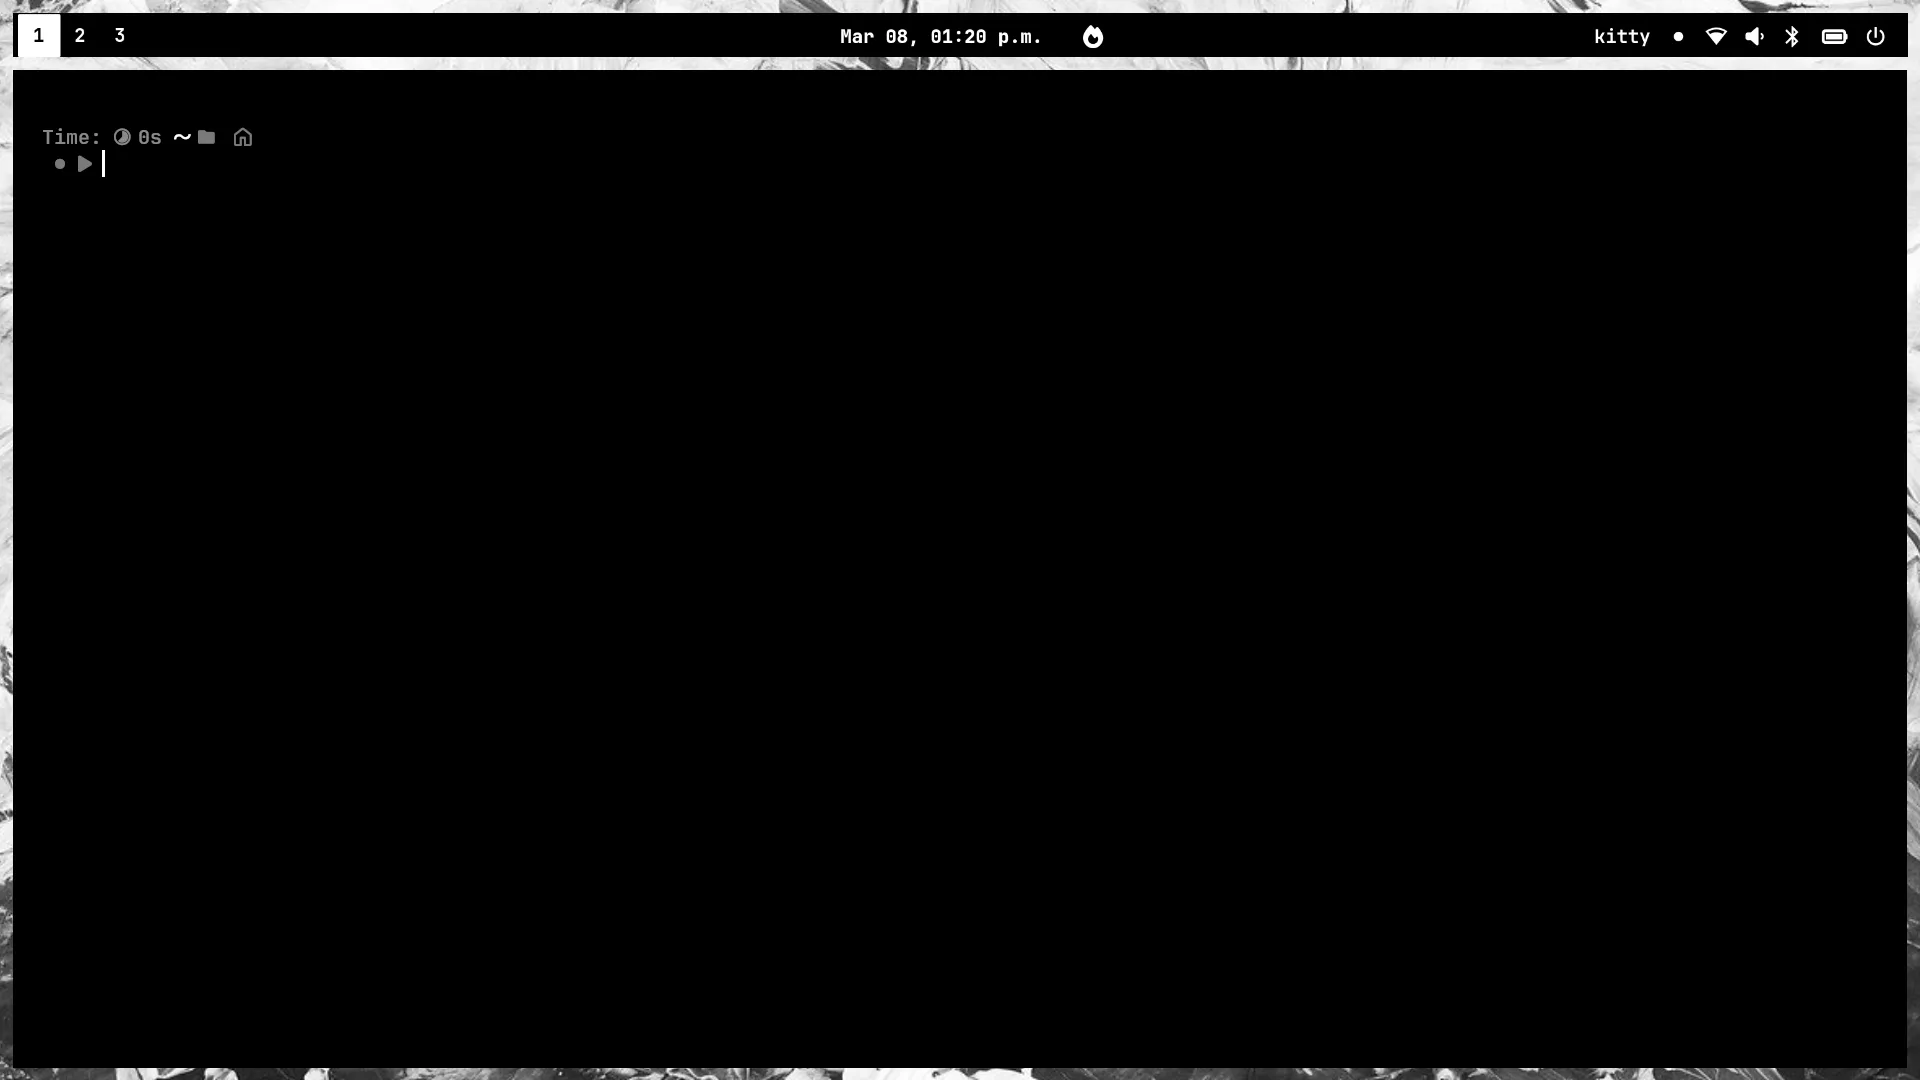
- Now we need to press the
Win+EnterorMod+Enterkey combination to open the kitty terminal.
- Next, let’s start the installation process with
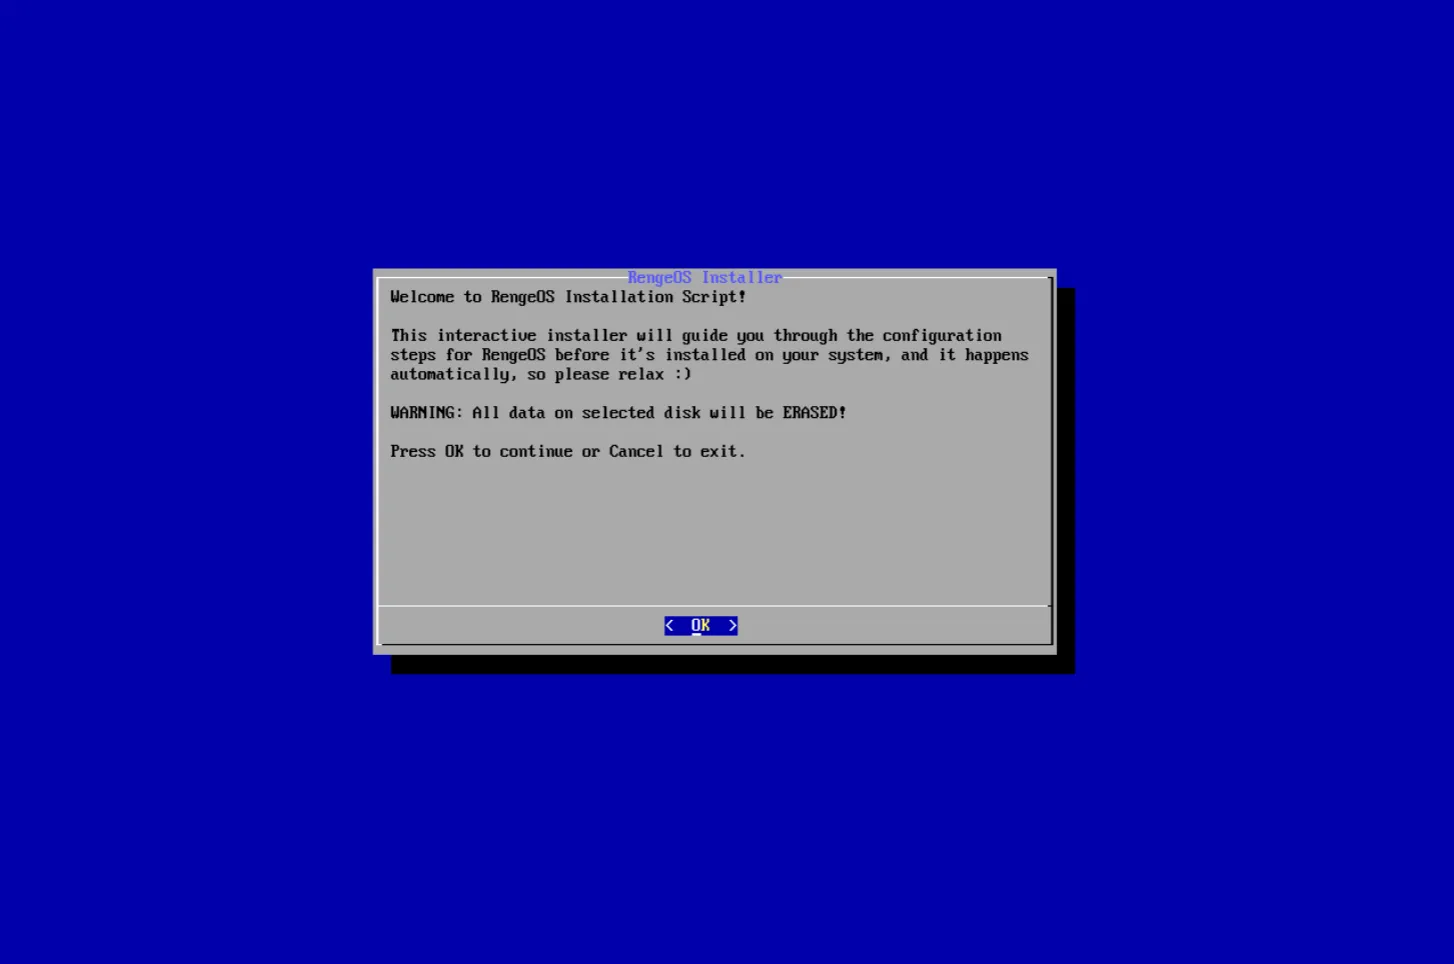
ros-installer.
ros-installer- Immediately after you run the installer, this interface will appear on the screen.
- Now, at this step, please follow these instructions below:
After the installation process is complete
Section titled “After the installation process is complete”- After we have completed the installation process, please read the user guide here: