Create Bootable USB
Once we have the ISO file, the next step is to flash the ISO image onto a USB stick to make it bootable. Follow the instructions below:
Methods
Section titled “Methods”- Ventoy is an open source tool to create bootable USB drive for ISO/WIM/IMG/VHD(x)/EFI files.
- With Ventoy, you don’t need to format the disk over and over, you just need to copy the ISO/WIM/IMG/VHD(x)/EFI files to the USB drive and boot them directly.
- First, follow the instructions here: How to make bootable USB drive with Ventoy
- Next, we will copy and paste the ISO file into the Ventoy folder like this:
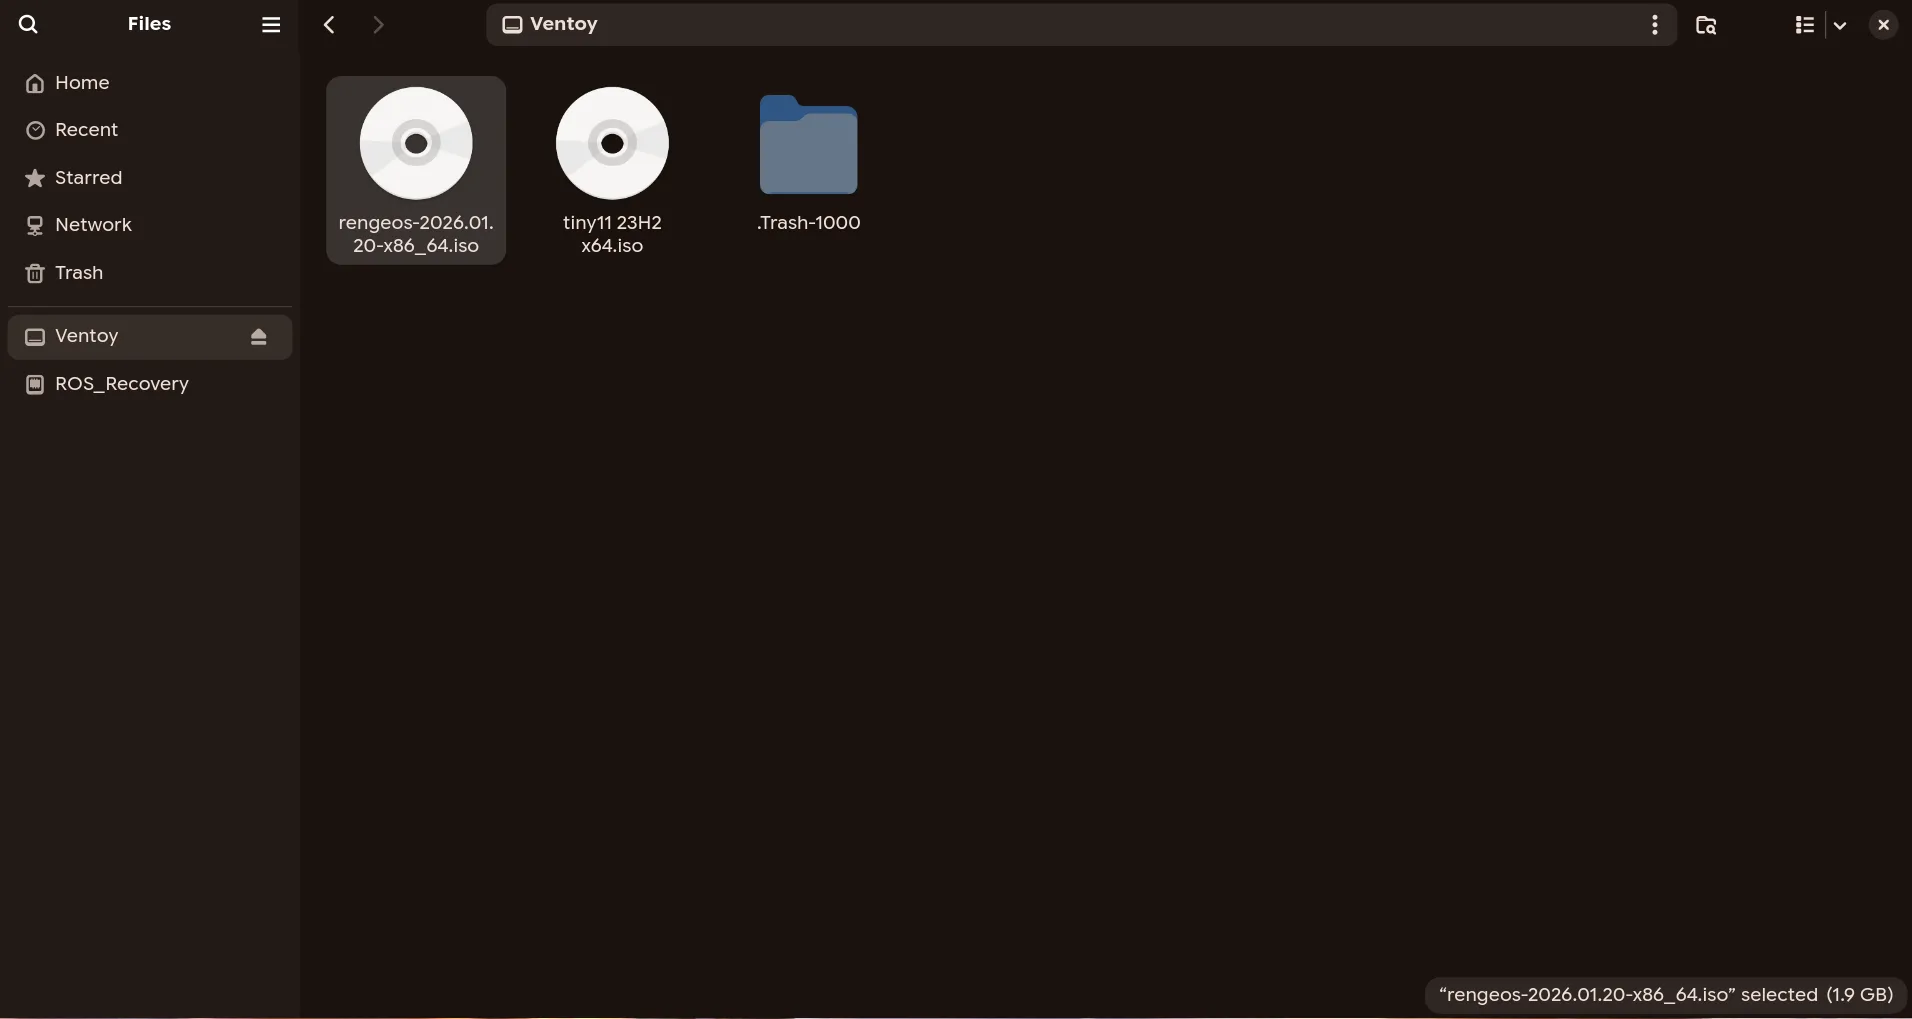
- Once everything is done, we will remove the USB drive, and now you have a bootable USB drive to install RengeOS, which supports both UEFI and Legacy BIOS modes.
- If you’re already using Linux, you can create an RengeOS bootable USB with dd. dd creates both BIOS and UEFI bootable USB Follow the steps below to create a bootable USB with dd :
- Open a terminal and run
lsblkto get the USB info. In my case, it’s /dev/sda.
[rengeos@host ~]$ lsblk
NAME MAJ:MIN RM SIZE RO TYPE MOUNTPOINTSsda 8:0 1 14.7G 0 disk├─sda1 8:1 1 14.6G 0 part└─sda2 8:2 1 32M 0 partzram0 253:0 0 2.8G 0 disk [SWAP]nvme0n1 259:0 0 238.5G 0 disk...- After finding your USB device, Run dd to flash the ISO on USB.
sudo dd bs=4M if=path/to/rengeos.iso of=/dev/sdX status=progress oflag=sync- Make sure you replace path/to/rengeos.iso with the RengeOS ISO path and sdX with your USB device.
- This will create a bootable RengeOS USB for both BIOS and UEFI.
After completing the creation of the bootable USB
Section titled “After completing the creation of the bootable USB”After we have created the bootable USB, now choose the installation method corresponding to the ISO Edition you have flashed.
- Minimal Edition Installation:
- NiriWM Edition Installation: